Navigation: Web Activation Server > Tutorial Web Activation Server > Part II - Installation and Configuration > Configure a Project >
Upload Configuration Files


|
Navigation: Web Activation Server > Tutorial Web Activation Server > Part II - Installation and Configuration > Configure a Project > Upload Configuration Files |
|
You have to copy your files to the Web Activation Server with an FTP software or within the file explorer.
Open your file explorer and type in the domain of the Web Activation Server
Sample: ftp://myregisterserver.com
You then have to provide the your username and password.
To log on to a secure FTP site in Internet Explorer 5.x and 6:
| 1. | Type ftp://myregisterserver.com in your Internet Explorer, click File, and then click Login As |
| 2. | In the User Name box, type your user name, and then press TAB |
| 3. | Type your password in the Password box, and then press Login |
After login you will see a directory structure similar to this one:
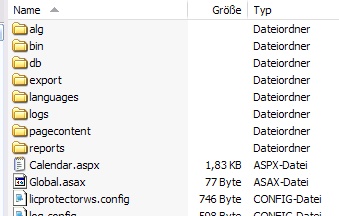
Select the folder \alg and copy to this file:
| • | Your project template. This has to be done every time when you - change the PSK - change a module type - add a new module |
| • | Your configuration file config-autogenerator.xml |
How to built this project files is described in the EasyGo developer documentation.
You have to restart the Web Service after making configuration changes.