|
|


Album 2 |

|

|

|

|
||
Album 2 |
|
|
|

|

|
|
|
Album 2 |
|
|
|
|
||
Album 2 |
|
|
|
|
|
To use this Album, copy all files from ...\Add-Ons\PhotoAlbum\Album2 to a new directory. You may not rename the folder names.
You can start the file gallery.swf to browse through the demo album.
![]() Never use a absolute path like c:\files which points to your disk drive on the PC. Always use a relative path like \img\flash\gallery_01.
Never use a absolute path like c:\files which points to your disk drive on the PC. Always use a relative path like \img\flash\gallery_01.
The text that appears on the album, can be modified with the files pictures.xml and personal_setup.xml
•Go to the folder ...\Add-Ons\PhotoAlbum\Album2\xml
•Open the file pictures.xml with any xml Editor (notepad, Word). If you do not have an XML Editor see How to edit an XML file
You can define a name per section / galleryname (<gallery name="1">) and you have to define each image you want to use
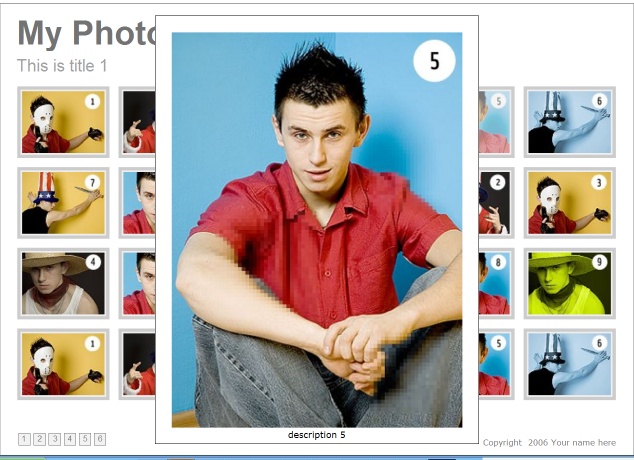
<image source="pics/pic1.jpg" thumb="pics/th1.jpg" descr="description 1"/>
whare source = the subfolder and big image name, thumb = name of small image, descr = title of the image
•Your personal settings can be configured in personal_setup.xml
You will find a more detail description in one up the next updates of the online help
The images have to be placed in a subfolder ...\Add-Ons\PhotoAlbum\Album2\pics and added in the pictures.xml file.
After adding all files, select the main folder Album1 to import it. Define gallery.swf as starting-file.
Look & Feel of the Album
See also
How to edit an XML file